
Wow, I can't believe I never posted this! I started a draft of this post more than a year ago, and here I am again.
Despite the delay since I actually made this cake, it is absolutely worth posting. I still remember very clearly this unique and delightful cake, not too sweet and oh so buttery. There is something fascinating to me about a yeasted cake, with a slightly gooey topping that sort of seeps into the bottom cake layer. Like many of my favorite recipes, this one comes from smittenkitchen.
The layered cake concept also brings to mind a blueberry ricotta cake I recently made from King Arthur Flour, which is also a two-layered cake, but in this case tends towards a cheesecake consistency with an upper layer of a ricotta mixture (check it out since I didn't take any photos to make a post of it!). I am further reminded of this recipe for Lemon Cake Top Pudding, which ends up, well, with a cake-like top after you bake it, and pudding underneath - so interesting! Will make that one of these days.
In any case, I do not know why or how this comes from St. Louis, but I'm certainly glad it did! Whoever named it "gooey" and "butter" deserves a reward, because it is both of those things to everyone's delight.
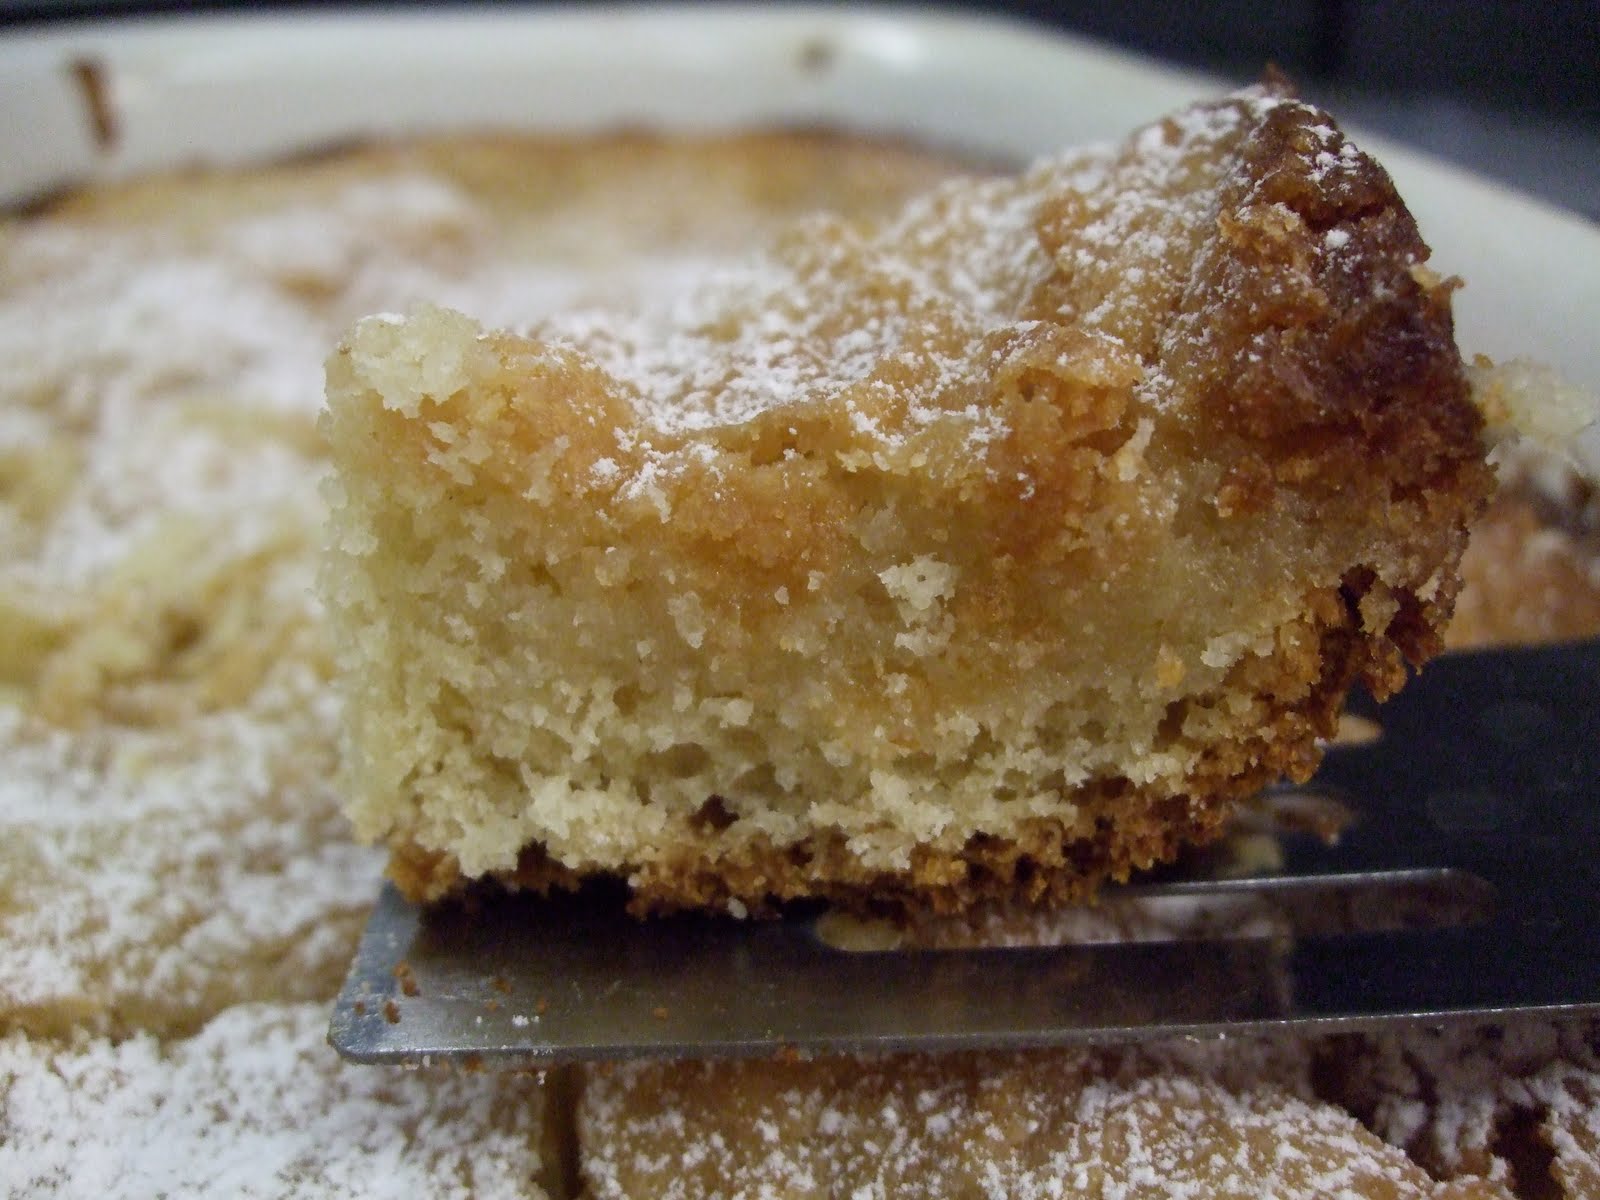
See how the top layer gooeys into the bottom?? I take great pleasure in thinking of the word "gooey" as a verb - to gooey, gooeying, gooeyed. Why not? No other English word really has the same nuance.

Let's do this thing! Take care to save time for letting the dough rise, and make sure to not over bake it (see the instructions on baking pan choice). A stand mixer is necessary for the long periods of time that the dough gets beaten; a handheld electric mixer would not be hardy enough.

In any case, I do not know why or how this comes from St. Louis, but I'm certainly glad it did! Whoever named it "gooey" and "butter" deserves a reward, because it is both of those things to everyone's delight.
See how the top layer gooeys into the bottom?? I take great pleasure in thinking of the word "gooey" as a verb - to gooey, gooeying, gooeyed. Why not? No other English word really has the same nuance.
Let's do this thing! Take care to save time for letting the dough rise, and make sure to not over bake it (see the instructions on baking pan choice). A stand mixer is necessary for the long periods of time that the dough gets beaten; a handheld electric mixer would not be hardy enough.
St. Louis Gooey Butter Cake
from smittenkitchen
Cake ingredients:
3 T milk at room temperature
1 3/4 tsp active dry yeast
6 T unsalted butter at room temperature
3 T sugar
1 tsp kosher salt
1 large egg
1 3/4 C flour
Topping ingredients:
3 T plus 1 tsp light corn syrup
2 1/2 tsp vanilla extract
12 T (1 1/2 sticks) unsalted butter at room temperature
1 1/2 C sugar
1/2 tsp kosher salt
1 large egg
1 C plus 3 T flour
Powdered sugar for sprinkling
Preparing the cake dough:
Mix the milk with 2 T warm water in a small bowl. Gently whisk in the yeast until it dissolves. Mixture should foam slightly.
In a stand mixer with the paddle attachment, cream butter, sugar, and salt. Scrape down the sides of the bowl and beat in the egg. Alternately add the flour and the milk mixture, scraping down the sides of the bowl between each addition. Switch to a dough hook after everything has been added, and beat on medium speed until the dough has formed a smooth mass and pulled away from the sides of the bowl a little, 7-10 minutes (may still be very soft in the end).
Press, stretch, and nudge the dough into a greased 9x13 baking pan at least 2 inches deep; a metal cake pan will produce faster browning on the bottom of the cake, whereas a cake dish as I used (glass or ceramic) will produce less. If you use a metal pan, you will want to check the cake after 30 minutes of baking, rather than 45.
Cover dish with plastic wrap or a clean tea towel, place in a warm area, and allow to rise until doubled, 2 1/2 to 3 hours.
Preparing the gooey topping:
After the cake dough has risen, preheat the oven to 350 degrees. In a small bowl, whisk the corn syrup together with 2 T water and the vanilla extract. Using a stand mixer with paddle attachment or an electric mixer, cream butter, sugar, and salt until light and fluffy, 5-7 minutes. Scrape down the sides of the bowl and beat in the egg. Alternately add the flour and corn syrup mixture, scraping down the sides of the bowl after each addition.
Spoon the topping in large dollops over the risen cake and use an offset spatula to gently spread it in an even layer. Bake for 30 to 45 minutes (30 for metal pan, 45 for glass or ceramic dish); you may want to check it earlier than the prescribed time to ensure avoiding over baking. The cake will rise and fall in waves and have a golden brown top, but will still be liquid when done (I wished mine had been a little more liquid, but checked it too late).
Cool in pan, then sprinkle with powdered sugar before serving.


